Yes, you can handle certain garage door opener repairs yourself, but only specific ones. Simple fixes like replacing remote batteries, cleaning safety sensors, tightening loose hardware, and resetting the unit after a power outage are well within reach for most homeowners. Anything involving the motor, wiring, gears, or spring system should always be left to a trained professional. Knowing the difference between a safe DIY fix and a job that needs expert hands can save you money, time, and a trip to the emergency room. For homeowners across Southern New Jersey and the Greater Philadelphia area, understanding where that line falls is the first step toward smart garage door opener repair.
Understanding How a Garage Door Opener Works
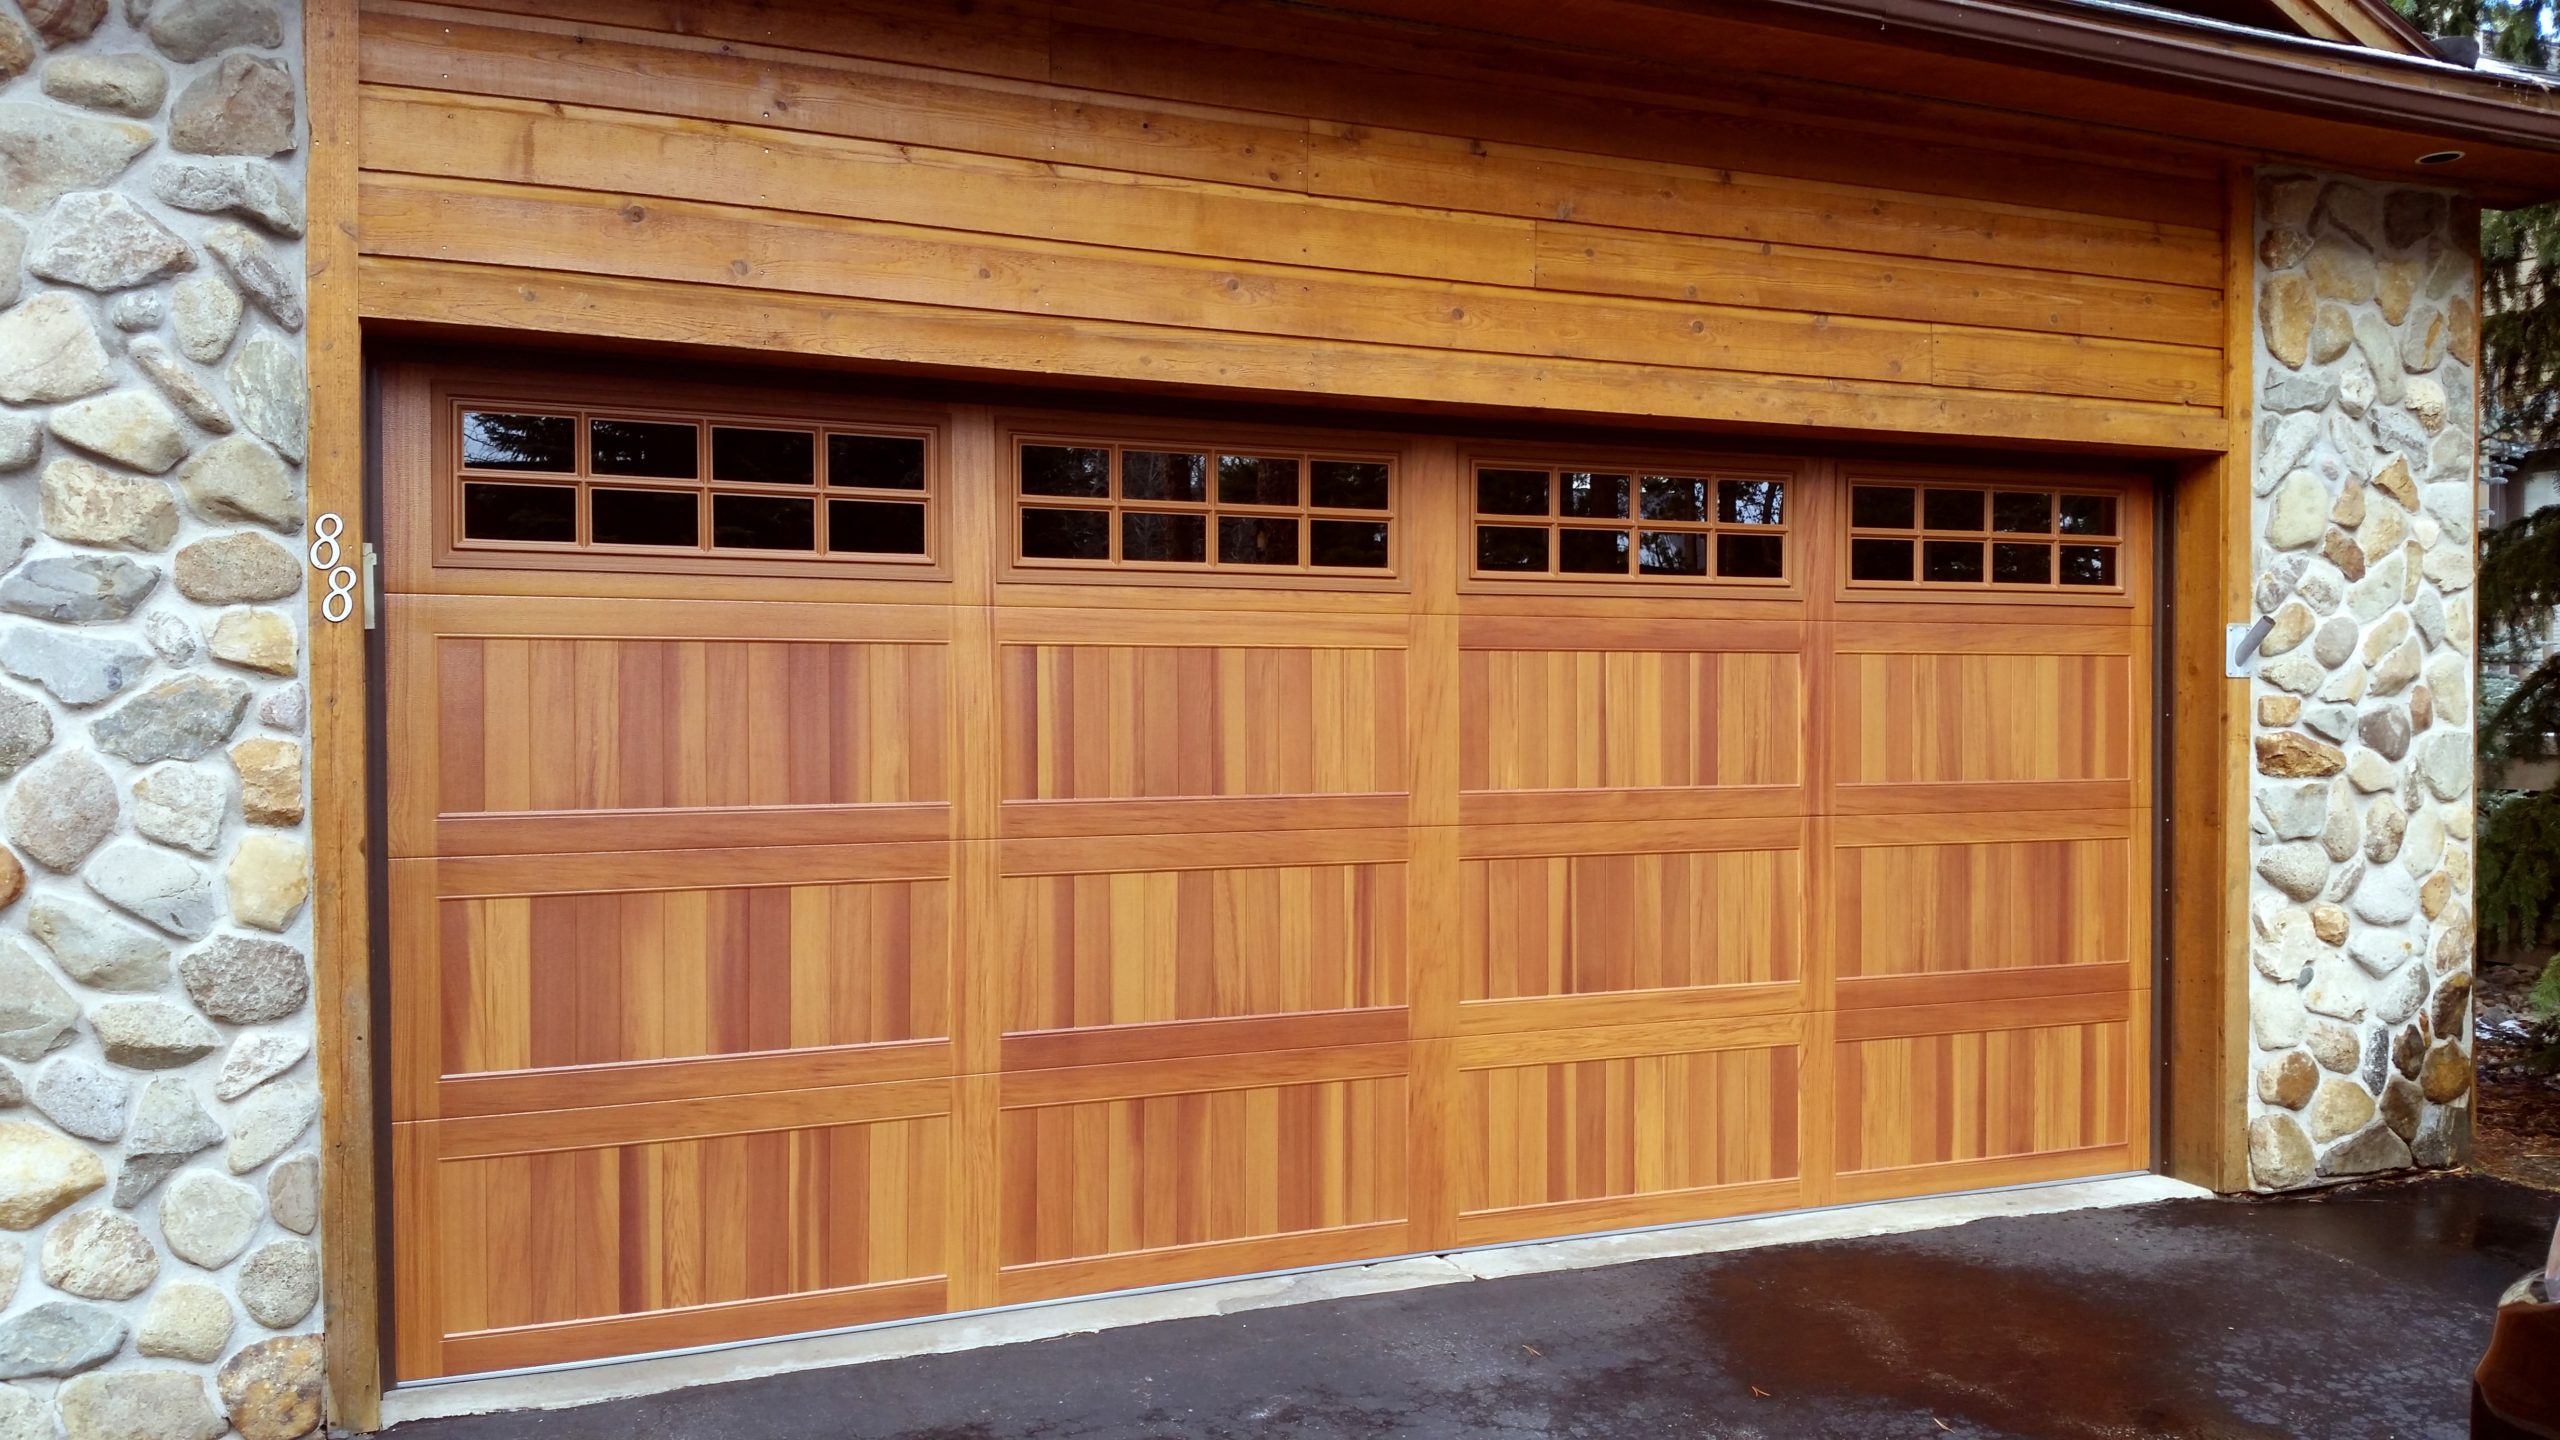
Before tackling any repair, it helps to know what’s actually going on inside your garage door opener. The system is made up of several core components working together. The motor provides the lifting power. The drive mechanism, whether chain, belt, screw, or direct drive, transfers that power to move the door. The remote and wall control send signals to activate the opener. The safety sensors near the floor prevent the door from closing on people or objects. Limit switches tell the opener when to stop moving.
Each of these parts can fail or get knocked out of alignment over time. Some are easy to inspect and adjust. Others sit inside the housing and connect to high-voltage components that demand professional attention. Knowing which is which is half the battle.
Common Garage Door Opener Problems You Can Diagnose at Home
Most garage door opener problems start small. The remote stops responding. The door begins reversing halfway through closing. The opener hums but the door doesn’t budge. You might hear unusual grinding or notice the door opens partway and stops.
These symptoms don’t always mean the opener is shot. Often they point to something simple like dead batteries, dirty sensors, a loose chain, or a setting that needs adjusting. Walking through the basics first lets you rule out easy fixes before assuming the worst.
Take a few minutes to observe what’s happening. Is the motor running but the door isn’t moving? Are the lights on the sensors blinking? Does the remote work from up close but not from across the driveway? These details guide your next move.
DIY Garage Door Opener Repairs You Can Safely Handle
There are several garage door opener repairs that homeowners can tackle without risk. Replacing remote batteries is the easiest one. A weak or dead battery is the most common reason a remote stops working, and a quick swap usually solves the issue.
Cleaning and realigning the safety sensors is another safe DIY job. The two small sensors near the floor on either side of the door can get dusty, bumped out of alignment, or blocked by stored items. Wiping them with a soft cloth and adjusting them so the indicator lights stay solid often fixes reversal problems.
Tightening loose hardware around the rail, motor housing, and mounting brackets is also manageable. Vibration over the years loosens bolts and screws, which creates noise and uneven operation. A wrench and a few minutes of attention can quiet things down significantly.
Lubricating moving parts like the chain, rollers, and hinges keeps the system running smoothly. Use a garage door specific lubricant, not WD-40, and apply it sparingly. Resetting the opener after a power outage by following the manufacturer’s instructions is another easy fix.
How to Troubleshoot a Garage Door Opener Step by Step
A logical troubleshooting flow helps you find the problem faster. Start with power. Check that the opener is plugged in and the circuit breaker hasn’t tripped. If the motor light works, power is fine.
Next, test the remote and the wall control separately. If the wall control works but the remote doesn’t, the issue is with the remote, the battery, or the antenna on the opener. If neither works, the logic board or the wiring may be the culprit, which means it’s time to call a professional.
Then check the safety sensors. Look for solid indicator lights on both sides. Blinking lights mean misalignment or an obstruction. Clear the area, wipe the lenses, and adjust the brackets until both lights stay steady.
Finally, look at the limit settings. If the door doesn’t fully open or close, the travel limits may need adjusting according to the opener’s manual. If everything checks out and the problem persists, the issue likely lies inside the motor or drive system, which is outside the DIY zone.
Repairs That Should Always Be Left to a Professional
Some garage door opener repairs carry real risks and require specialized knowledge. Motor and circuit board replacement involves high-voltage components and precise calibration. Mistakes here can damage the unit beyond repair or create a fire hazard.
Broken springs and cables are even more dangerous. These parts store enormous amounts of tension, and one wrong move can lead to severe injury. They aren’t technically part of the opener itself, but they affect how the opener performs, and they always require a trained technician.
Electrical wiring issues, gear assembly problems, and any repair that requires disassembling the opener housing should go to a professional as well. The internal components are tightly engineered, and improper handling can void the warranty or create lasting damage.
If you smell burning, see sparks, or hear grinding from inside the motor housing, stop using the opener immediately and call for help.
The Risks of Doing Garage Door Opener Repair Yourself
DIY repair sounds appealing until something goes wrong. The most serious risks involve physical injury. Springs under tension can release with enough force to break bones. Electrical components can deliver dangerous shocks. A heavy garage door falling because of a botched repair can cause real harm.
Beyond personal safety, DIY mistakes often cost more in the long run. A small error can damage the motor, strip gears, or fry the circuit board, turning a minor issue into a full replacement. Many manufacturers also void warranties if non-certified repairs are made.
There’s also the matter of safety code compliance. Garage door systems must meet specific safety standards, and a repair that bypasses or disables a safety feature creates liability concerns down the road, especially when selling the home.
Tools You’ll Need for Basic Garage Door Opener Repairs
For the DIY repairs that are safe to handle, the tool list is short and simple. A sturdy ladder gets you up to the opener and rail. A basic screwdriver set covers most fasteners, while a wrench set handles the larger bolts on mounting hardware.
Garage door lubricant is a must for keeping moving parts running smoothly. Pick up replacement batteries for your remote in the common sizes, usually CR2032 or AA. A soft microfiber cloth works well for wiping down sensor lenses without scratching them.
Keep your opener’s owner’s manual nearby. It contains model specific instructions for adjusting limits, reprogramming remotes, and performing manufacturer-recommended resets. Having it on hand saves time and prevents guesswork.
How to Know When It’s Time to Replace the Opener Instead of Repairing It
Sometimes repair isn’t the right answer. If your garage door opener is over 10 to 15 years old, parts may be harder to find and the technology behind it is likely outdated. Newer models offer better safety features, quieter operation, and smart home integration that older units can’t match.
Frequent breakdowns are another sign. If you’re calling for service every few months or the repair bills keep adding up, putting that money toward a new opener often makes more financial sense. Replacement also gives you a fresh warranty and the chance to upgrade to features you’ll actually use.
Look at the safety features too. Openers made before 1993 may not include modern auto-reverse mechanisms required by current code. Replacing an older unit isn’t just a convenience move, it’s a safety upgrade.
When to Call a Professional Garage Door Opener Repair Technician
Certain warning signs mean it’s time to stop troubleshooting and pick up the phone. A burning smell coming from the motor housing points to overheating or electrical damage. Sparks, smoke, or sudden silence after a loud pop all signal serious internal failure.
If the opener doesn’t respond at all, even after checking power, remote batteries, and wall control, the issue is likely inside the unit. Repeated reversal problems that don’t resolve with sensor cleaning often mean the limit settings or safety circuits are damaged.
A professional technician brings the right tools, training, and replacement parts to diagnose and fix the issue safely. Trying to push through these problems on your own usually leads to bigger headaches, higher costs, and unnecessary risk.
Trust Merchantville Overhead Door for Reliable Garage Door Opener Repair
When your garage door opener stops working the way it should, you want a team you can trust to get it running again. Merchantville Overhead Door has served Southern New Jersey and the Greater Philadelphia area since 1936, with four generations of family ownership behind every service call. As the first company in New Jersey to earn IDEA Accredited Door Dealer status and a recipient of the International Door Association’s Heritage Award, we bring decades of expertise to every repair, installation, and maintenance job.
Whether you need a quick sensor adjustment or a full opener replacement, Merchantville Overhead Door has the experience to handle it right the first time. Same day and emergency services are available when you need them most.